Glazed Donut Nails Tutorial: How to Achieve the Viral Chrome Manicure at Home

Glazed donut nails have become one of the most requested manicure styles in salons worldwide. Known for their soft pearl shine and glossy chrome finish, this elegant nail trend creates a luxurious look that works for every season, occasion, and nail length.
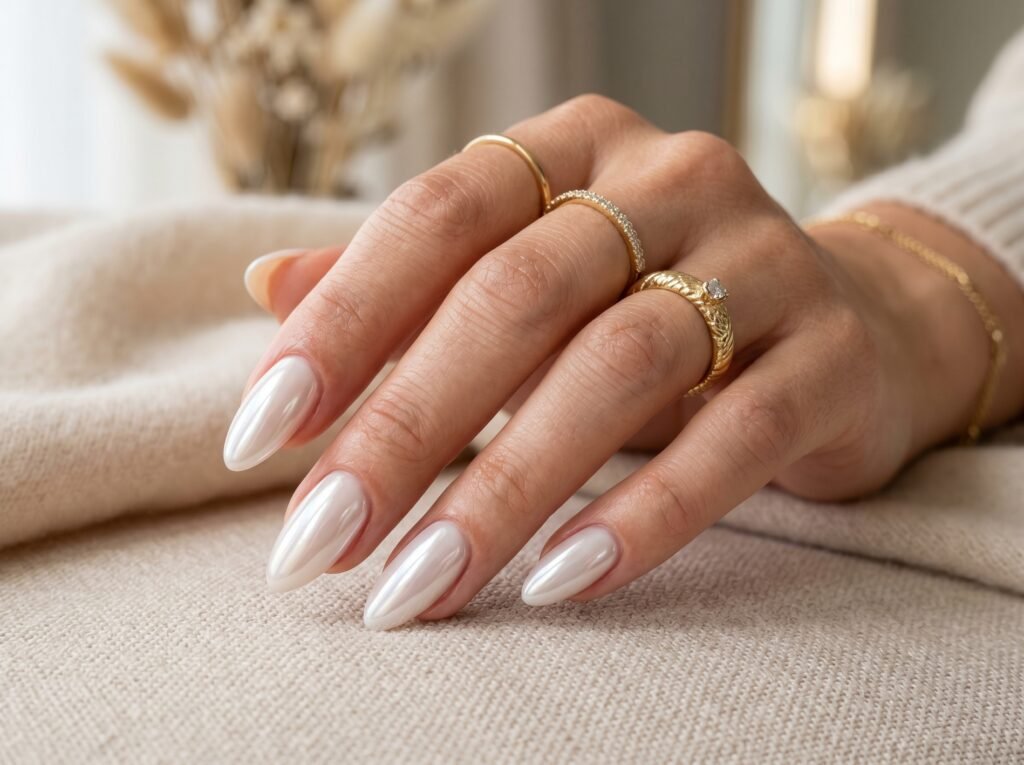
The beauty of glazed donut nails lies in their simplicity. A sheer nude or milky white base paired with a delicate chrome powder creates a sophisticated mirror-like effect that catches the light beautifully.
In this guide, you’ll learn exactly how to create glazed donut nails at home, the best products to use, and professional tips for achieving a salon-quality finish.
What Are Glazed Donut Nails?
Glazed donut nails are a modern chrome manicure featuring a translucent nude, pink, or milky white base topped with pearl chrome powder. The result is a soft, glazed finish that resembles the shiny surface of a freshly glazed donut.
Unlike traditional metallic chrome nails, this trend focuses on subtle elegance rather than a bold mirror effect.
Why Are Glazed Donut Nails So Popular?
The glazed donut nail trend became a global beauty favorite because it combines simplicity with luxury.
Benefits of Glazed Donut Nails
- Suitable for all nail lengths
- Looks elegant and expensive
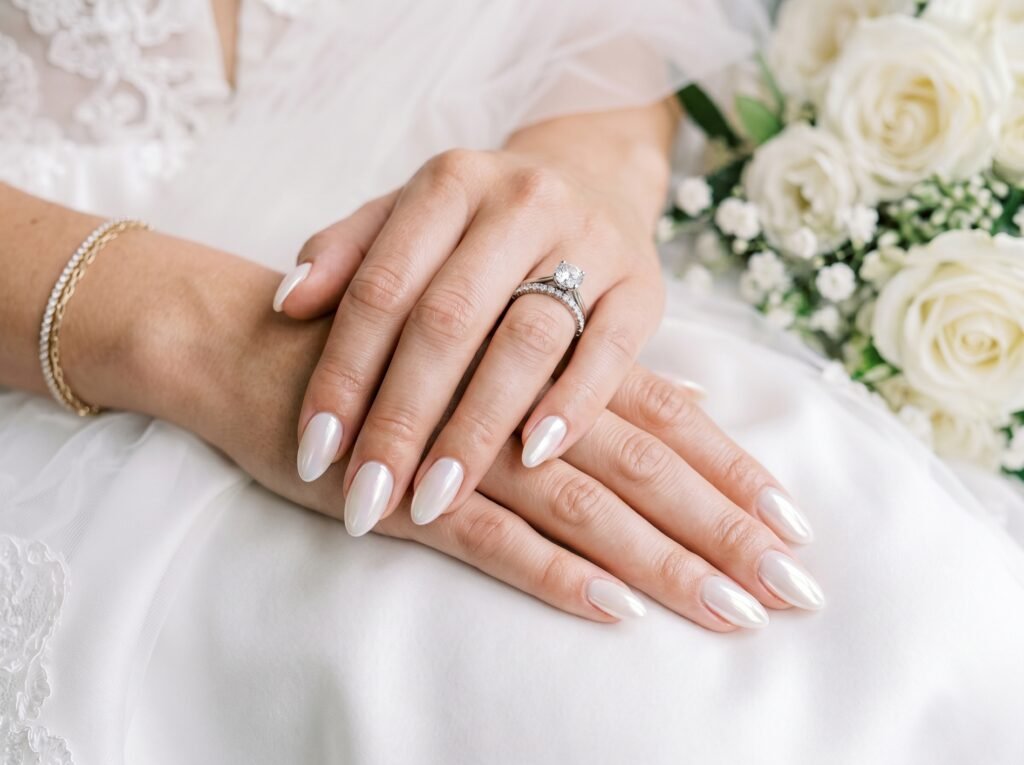
- Perfect for weddings and special occasions
- Matches every outfit
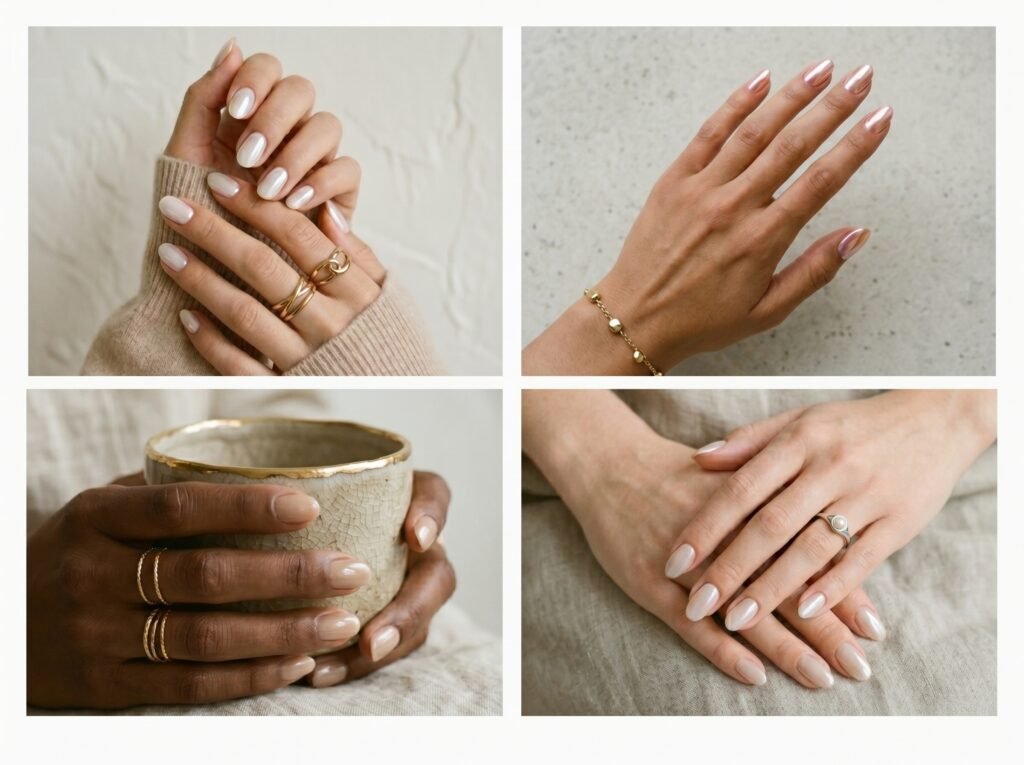
- Works beautifully on all skin tones
- Timeless and versatile
Whether you prefer short natural nails or long almond-shaped extensions, glazed donut nails enhance every manicure style.
Supplies You’ll Need
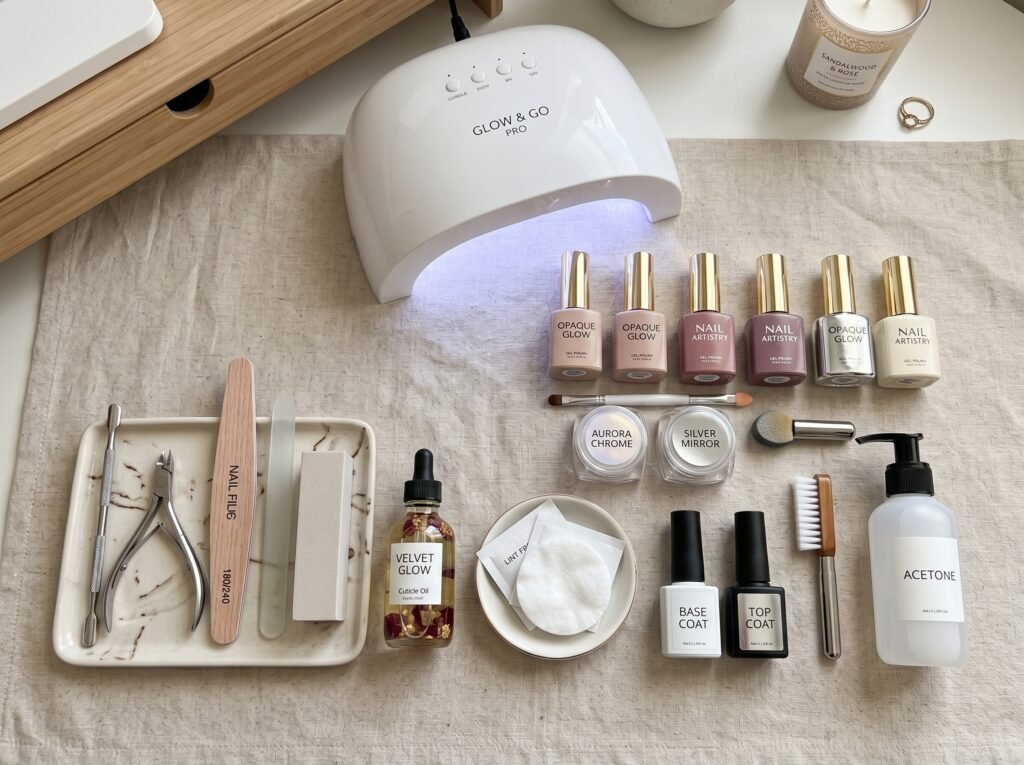
Before starting your manicure, gather the following supplies.
Essential Products
Nail Preparation
- Nail file
- Buffer block
- Cuticle pusher
- Nail cleanser
Polish & Chrome
- Base coat
- Milky white gel polish
- Nude gel polish
- No-wipe top coat
- Pearl chrome powder
Equipment
- UV/LED nail lamp
- Chrome applicator sponge
- Dust brush
Professional-quality products produce the smoothest chrome finish and longest-lasting results.
Image Prompt
Prompt:
Step-by-Step Glazed Donut Nails Tutorial
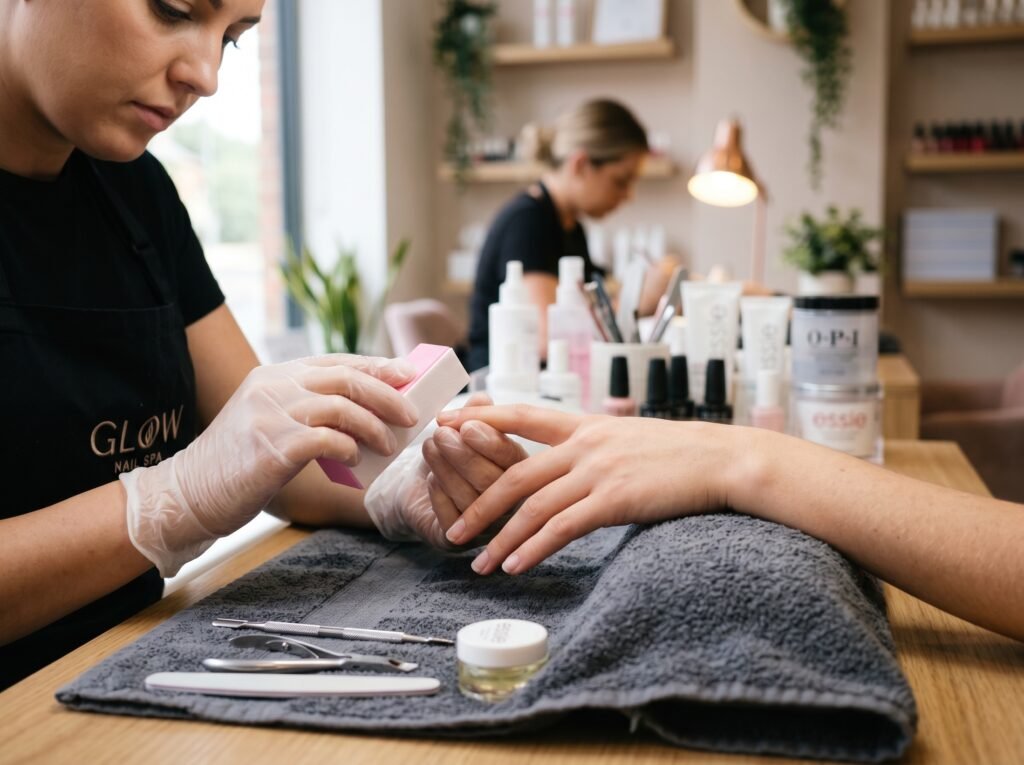
Step 1: Prepare Your Nails
Proper preparation is essential for a smooth and long-lasting manicure.
How to Prep Nails
- Remove old polish.
- Shape your nails.
- Push back cuticles.
- Lightly buff the surface.
- Clean nails thoroughly.
A smooth nail surface helps chrome powder adhere evenly.
Step 2: Apply a Base Coat
Apply a thin layer of base coat and cure under your UV or LED lamp according to the manufacturer’s instructions.
A quality base coat protects natural nails and improves product adhesion.
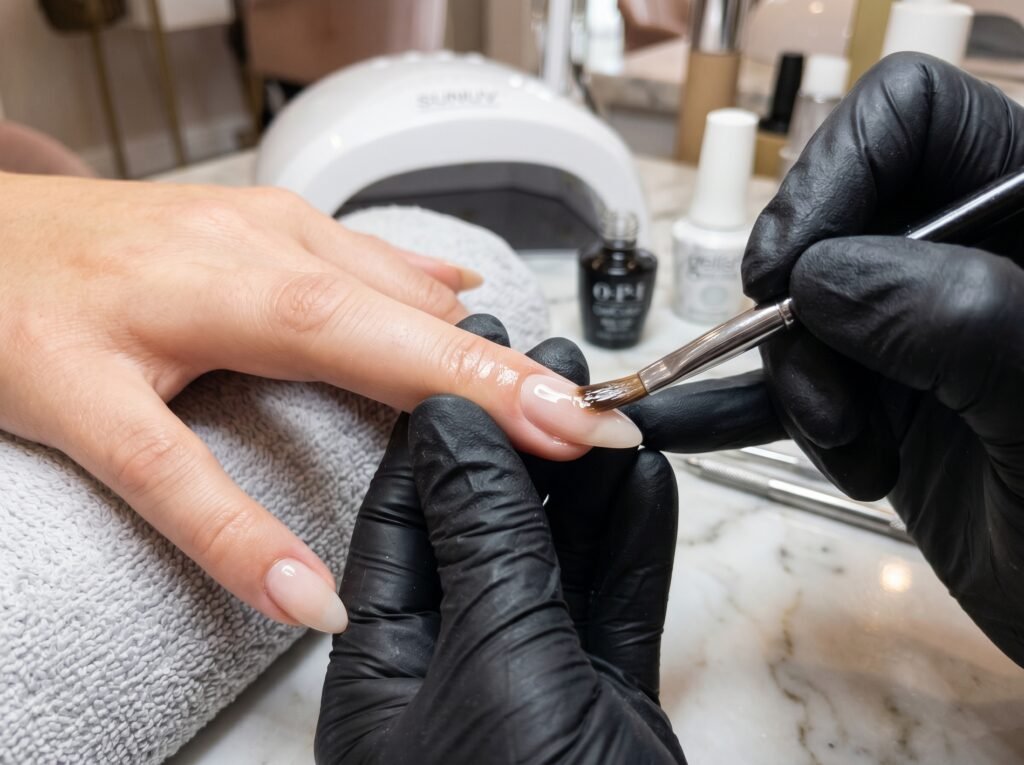
Step 3: Apply a Milky Nude Gel Polish
The base color is what creates the soft elegance associated with glazed donut nails.
Best Base Colors
- Milky white
- Sheer nude
- Soft pink
- Neutral beige
Apply two thin coats and cure between each layer.

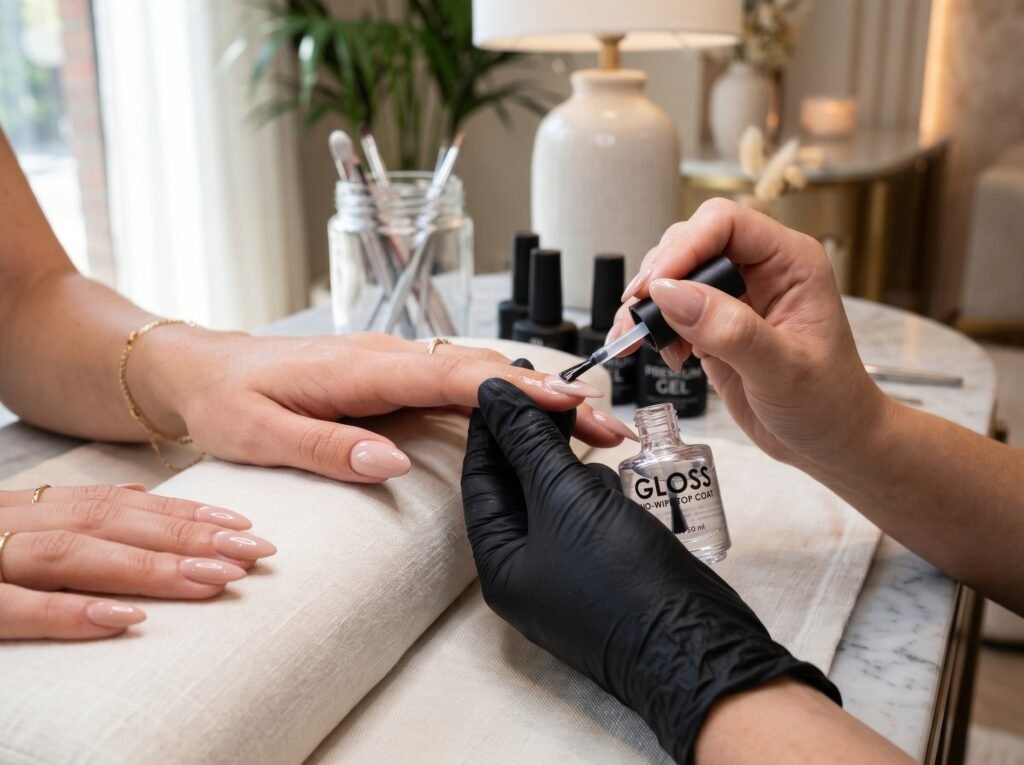
Step 4: Apply a No-Wipe Top Coat
A no-wipe top coat creates the perfect surface for chrome powder application.
Apply one thin layer and cure completely.
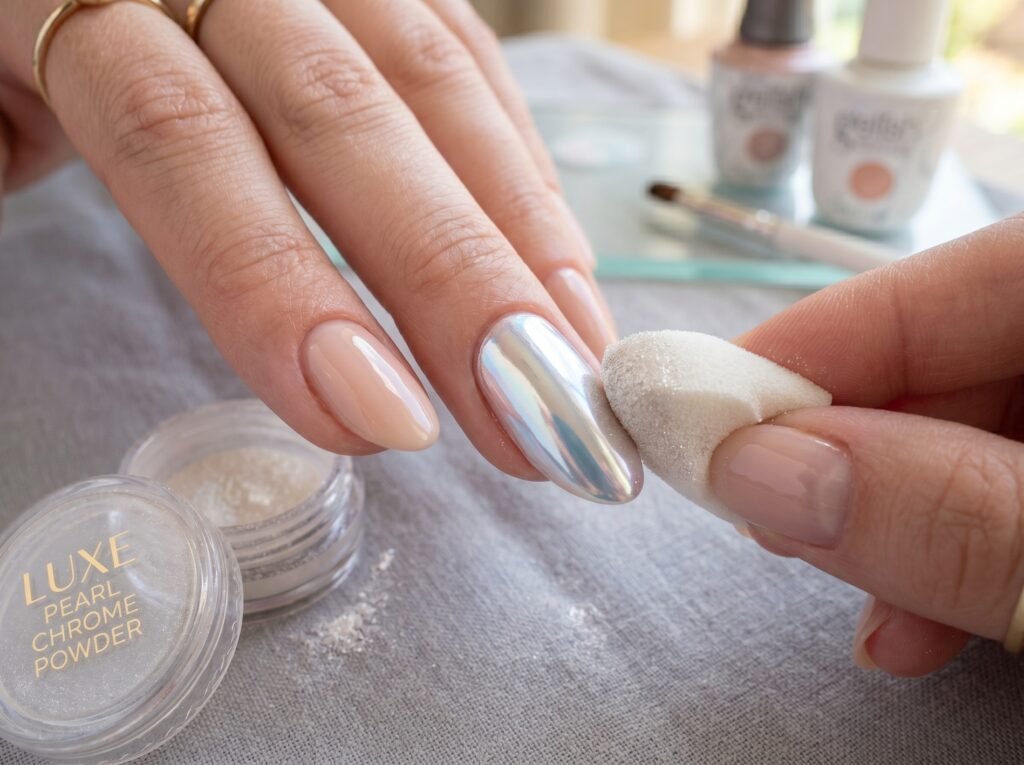
Step 5: Rub in Pearl Chrome Powder
Using a sponge applicator, gently rub pearl chrome powder across the cured top coat.
Continue buffing until a smooth reflective glaze appears.
This step transforms the manicure into the signature glazed donut look.
Step 6: Seal the Chrome Effect
Apply a final layer of top coat and cure thoroughly.
This protects the chrome finish and extends manicure longevity.
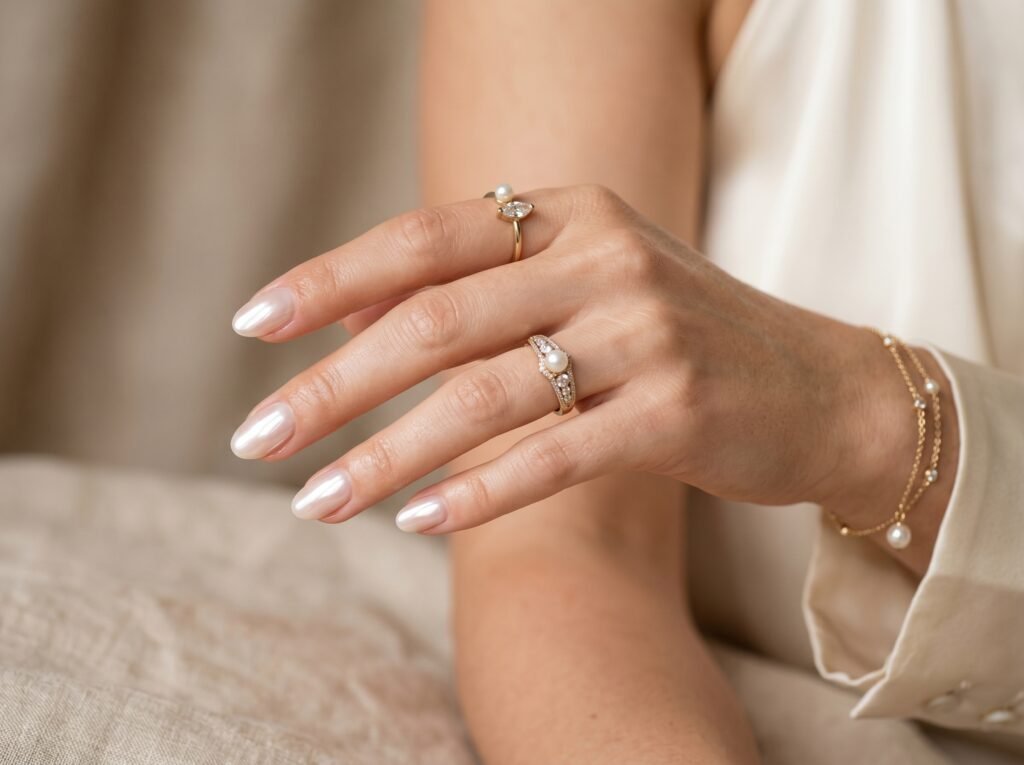
Best Glazed Donut Nail Variations
Milky White Glazed Nails
The classic version remains the most popular option.
Perfect For
- Weddings
- Bridal showers
- Elegant everyday wear
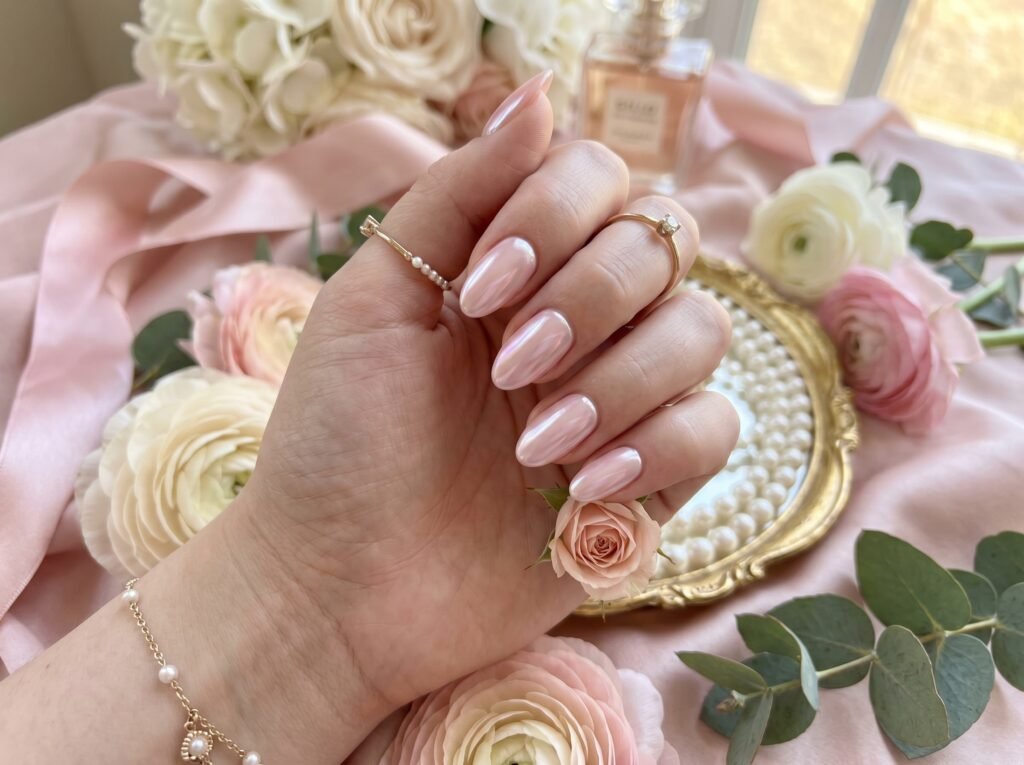
Soft Pink Glazed Nails
A feminine version with subtle warmth and romance.
Image Prompt
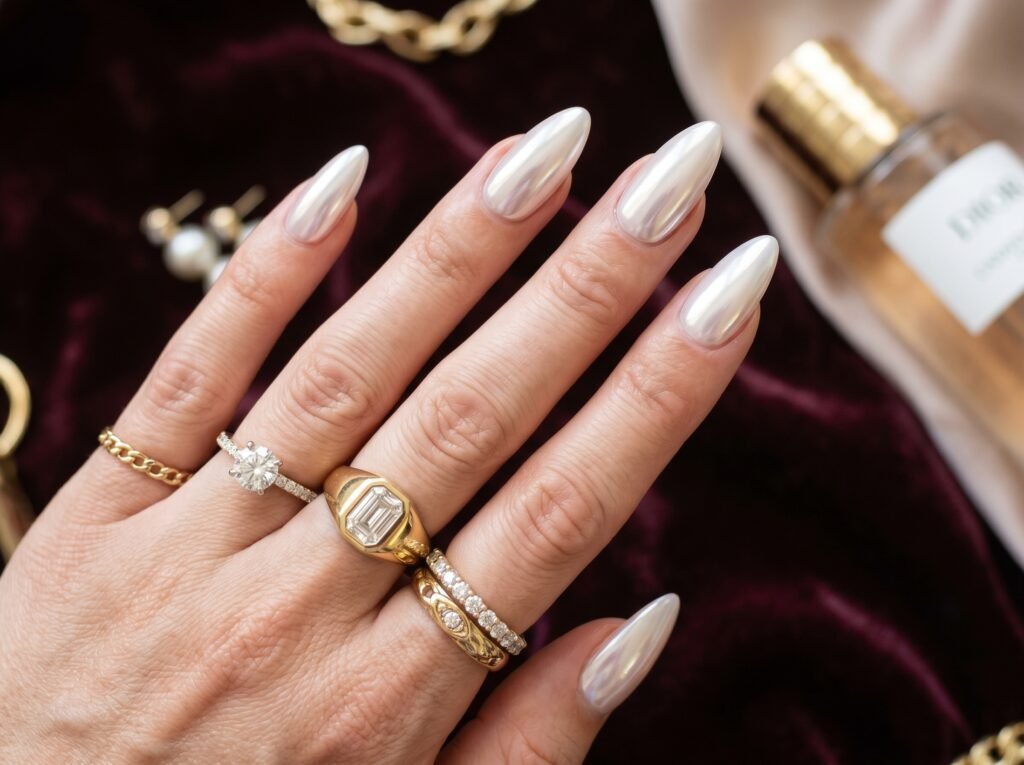
Almond-Shaped Glazed Nails
The almond shape elongates fingers and enhances the reflective chrome effect.
Professional Tips for Perfect Glazed Donut Nails
Use Thin Layers
Thin polish layers cure more evenly and create a smoother final result.
Invest in Quality Chrome Powder
Fine pearl chrome powder creates the most luxurious glazed effect.
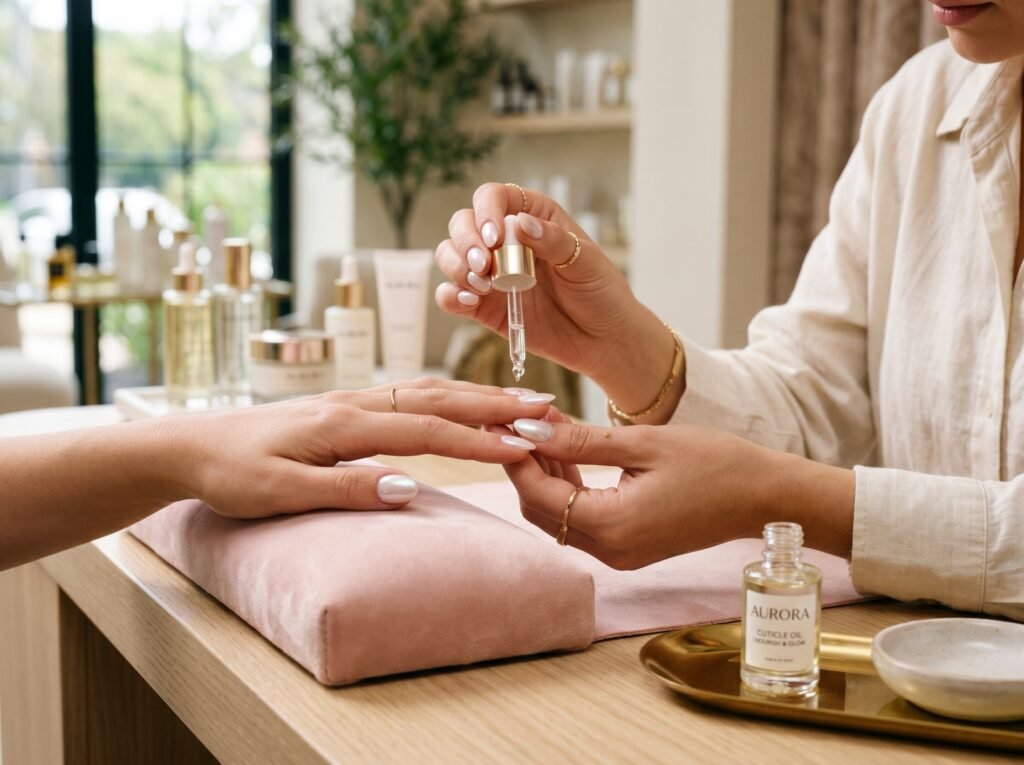
Keep Cuticles Hydrated
Daily cuticle oil helps maintain a salon-fresh appearance.
Avoid Over-Buffing
Too much pressure can reduce the chrome’s reflective finish.
Frequently Asked Questions
How Long Do Glazed Donut Nails Last?
When applied correctly using gel products, they typically last between 2 and 3 weeks without chipping.
Can You Create Glazed Donut Nails With Regular Polish?
Yes, although gel polish usually produces a smoother and more reflective chrome finish.
What Nail Shape Works Best?
Almond, oval, and squoval shapes are particularly flattering for glazed donut nails.
Are Glazed Donut Nails Suitable for Short Nails?
Absolutely. The reflective effect looks beautiful on both short and long nail lengths.
Final Thoughts
Glazed donut nails continue to dominate beauty trends because they offer the perfect balance between minimalism and luxury. Their soft chrome finish creates an elegant manicure that works for every occasion, from weddings to everyday wear.
With the right products, proper preparation, and the techniques outlined in this tutorial, you can achieve a professional-looking glazed donut manicure from the comfort of your home.
Save this tutorial for your next manicure and enjoy one of the most timeless nail trends of the year. ✨
Discover easy step-by-step blogs, tutorials, and tips at Recipiva. Visit RECIPIVA for more helpful articles and creative content.